Run the vcvars64.bat script.
The Tigress Windows system consists of two parts, the Tigress obfuscator itself and a Visual Studio plugin. This allows you to run Tigress either from the command line or from within Visual Studio.
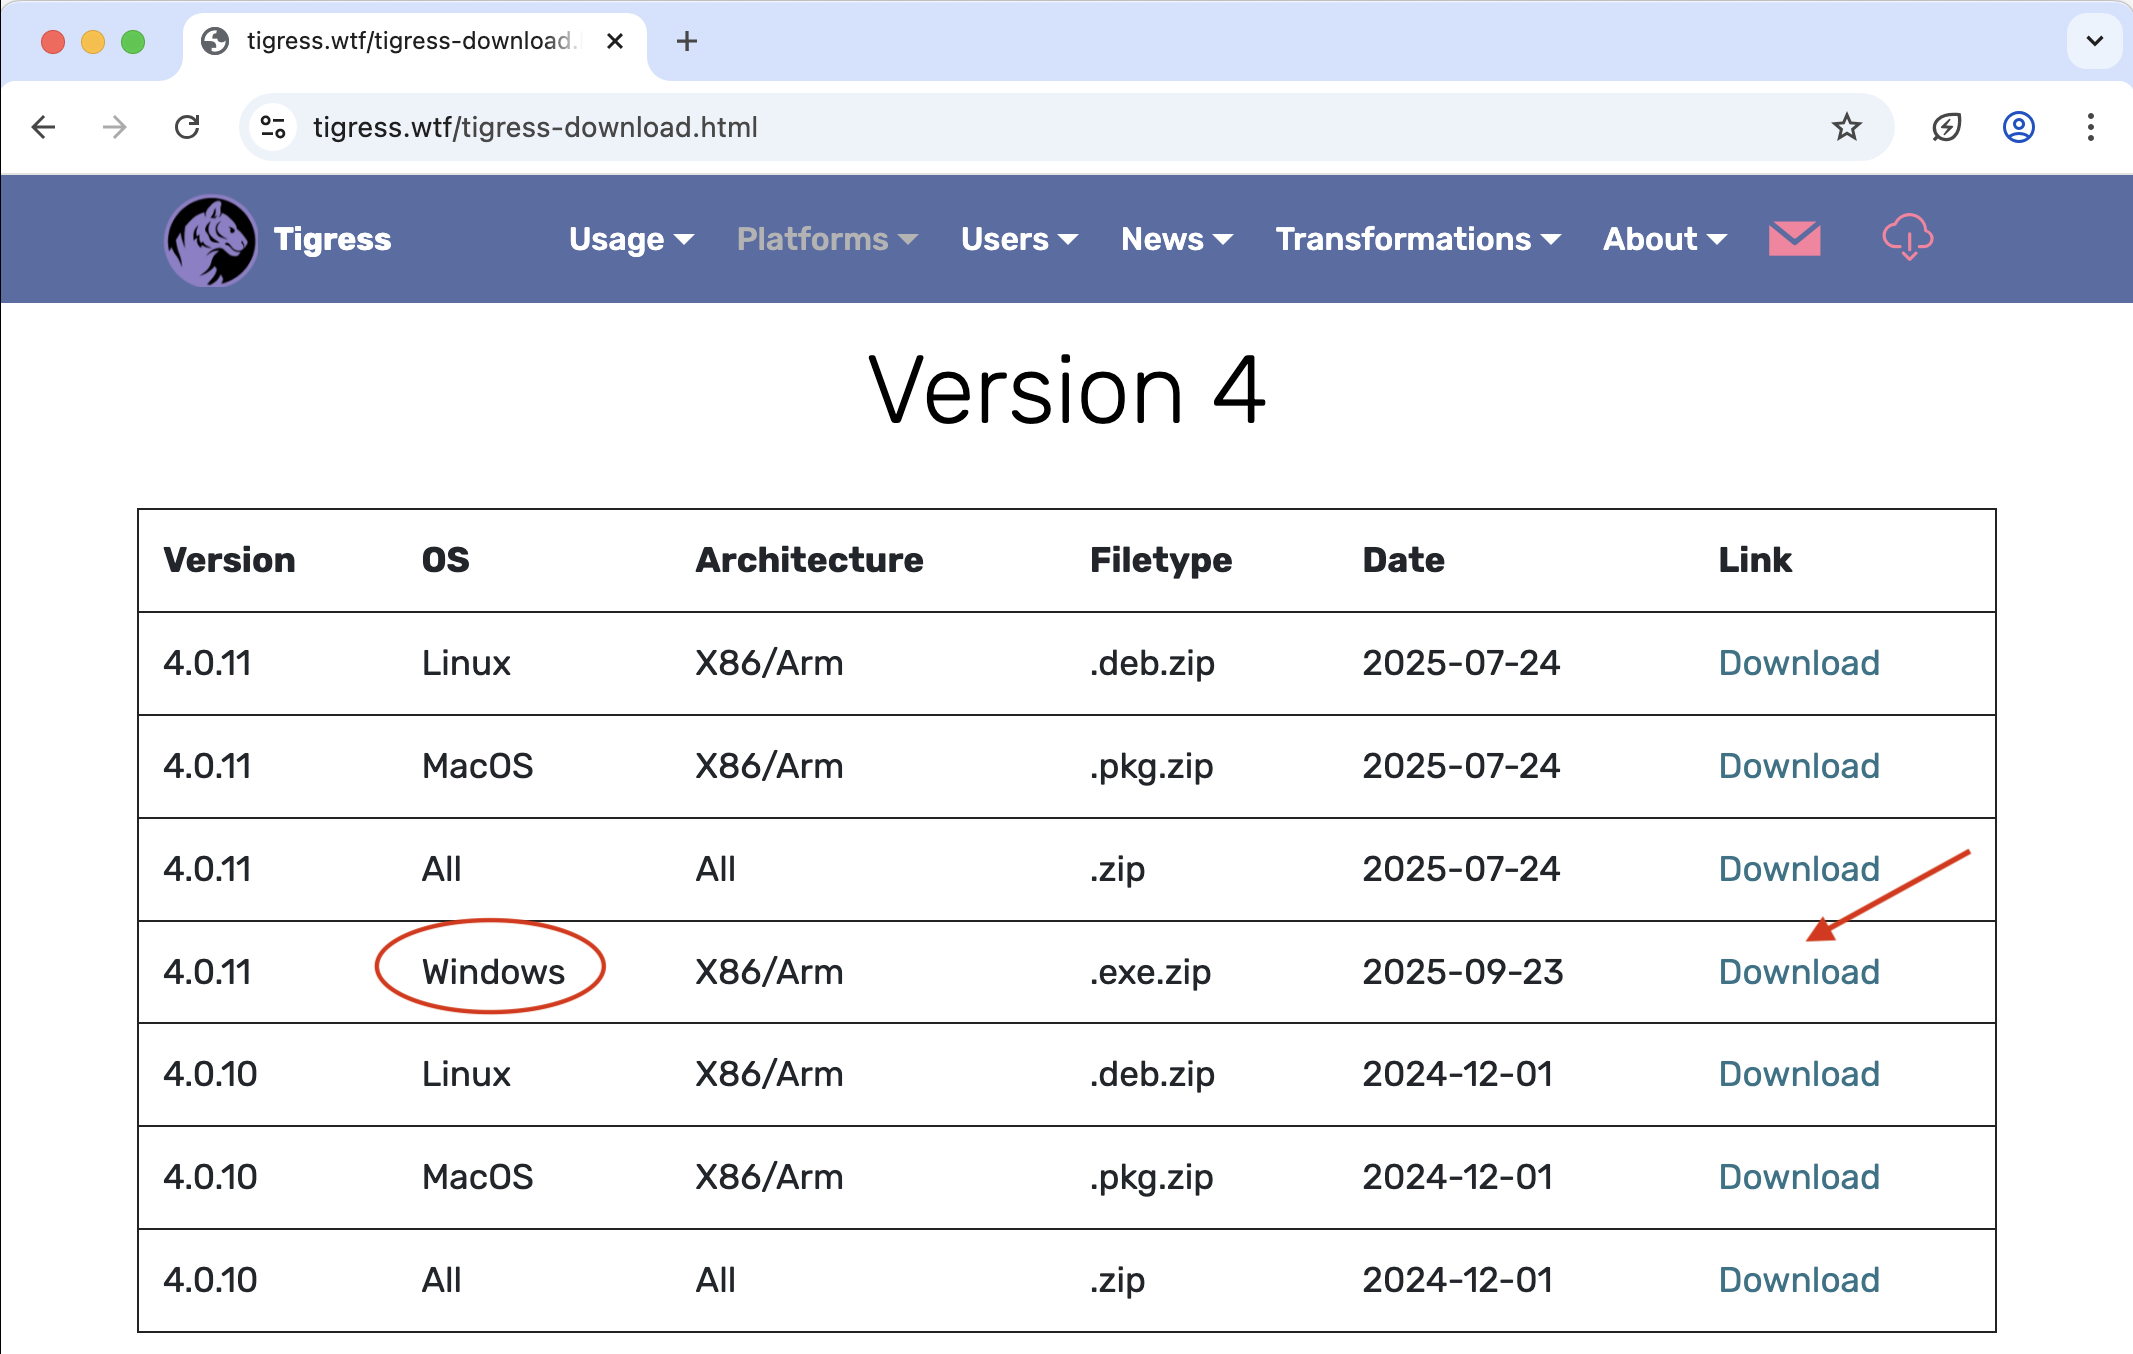
Go to the Tigress download page and download the Tigress installation file.
Let's assume you've downloaded the installation file Tigress_Windows_v4.0.11
in your Downloads folder:
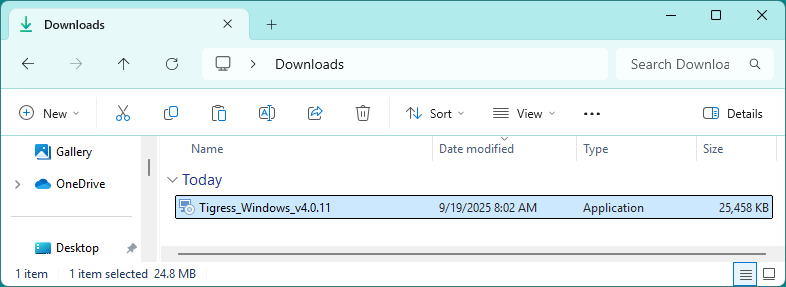
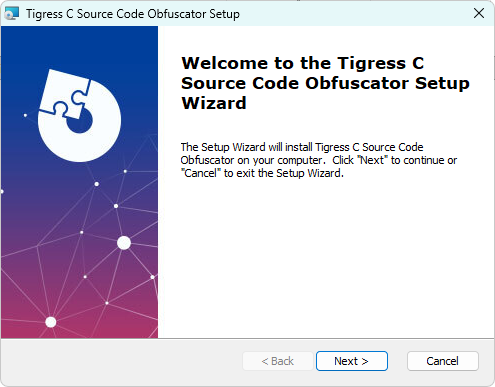
Double click on the install file:
If you already have Perl installed you can uncheck this box:
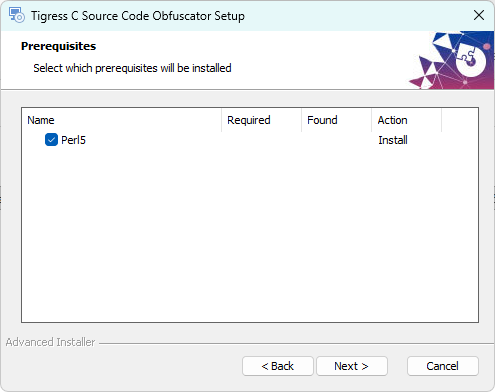
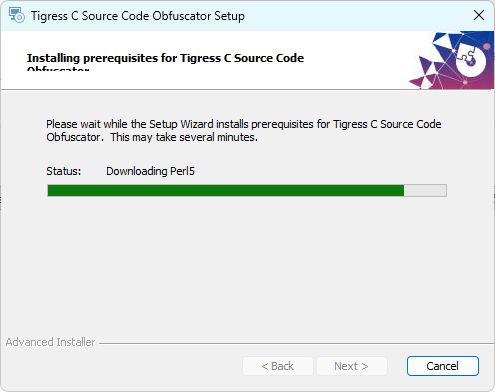
Otherwise, install Perl:
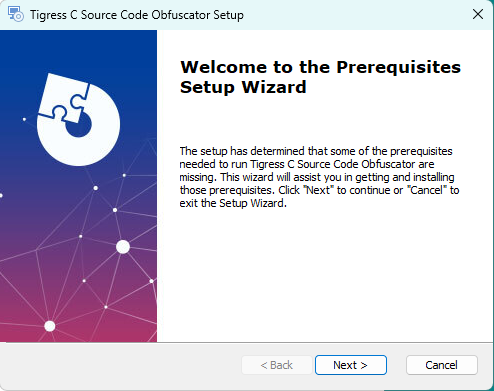
Click Next:
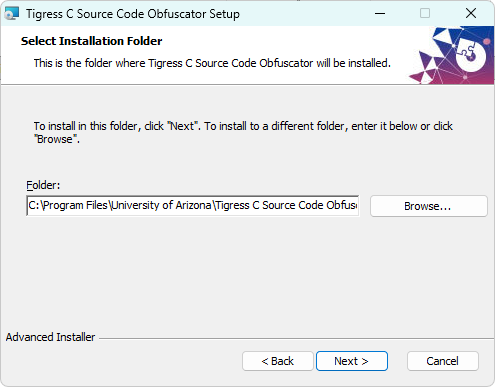
Tigress is normally installed in the location
C:\Program Files\University of Arizona\Tigress C Source Code Obfuscator\Tigress.
To use Tigress from the command line, you must first set the TIGRESS_HOME environment variable, with a command like:
set TIGRESS_HOME="C:\Program Files\University of Arizona\Tigress C Source Code Obfuscator\Tigress"
If you used a location different from the default install location you need to set the TIGRESS_HOME variable accordingly.
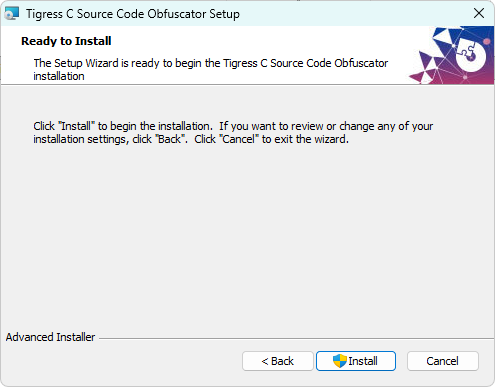
Click Install:
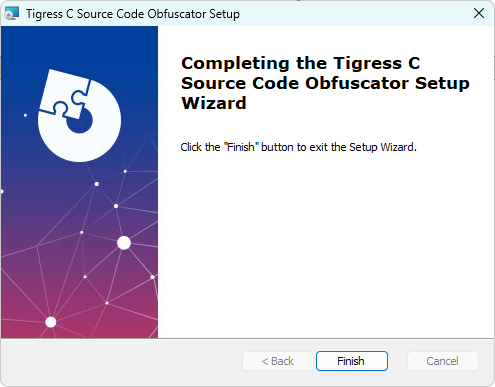
Click Finish:
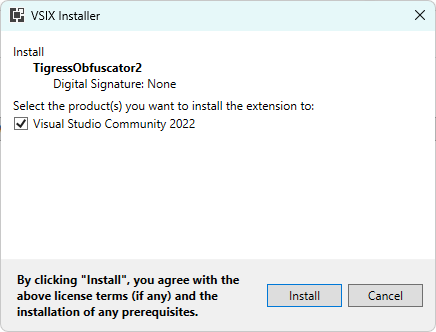
Click Install to install the Visual Studio plugin:
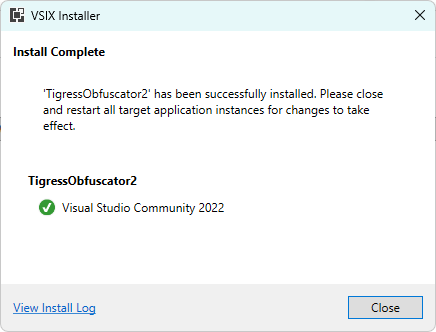
Click Close to finish the installation:
Here's an example of how you run Tigress from the command line.
Run the vcvars64.bat script.
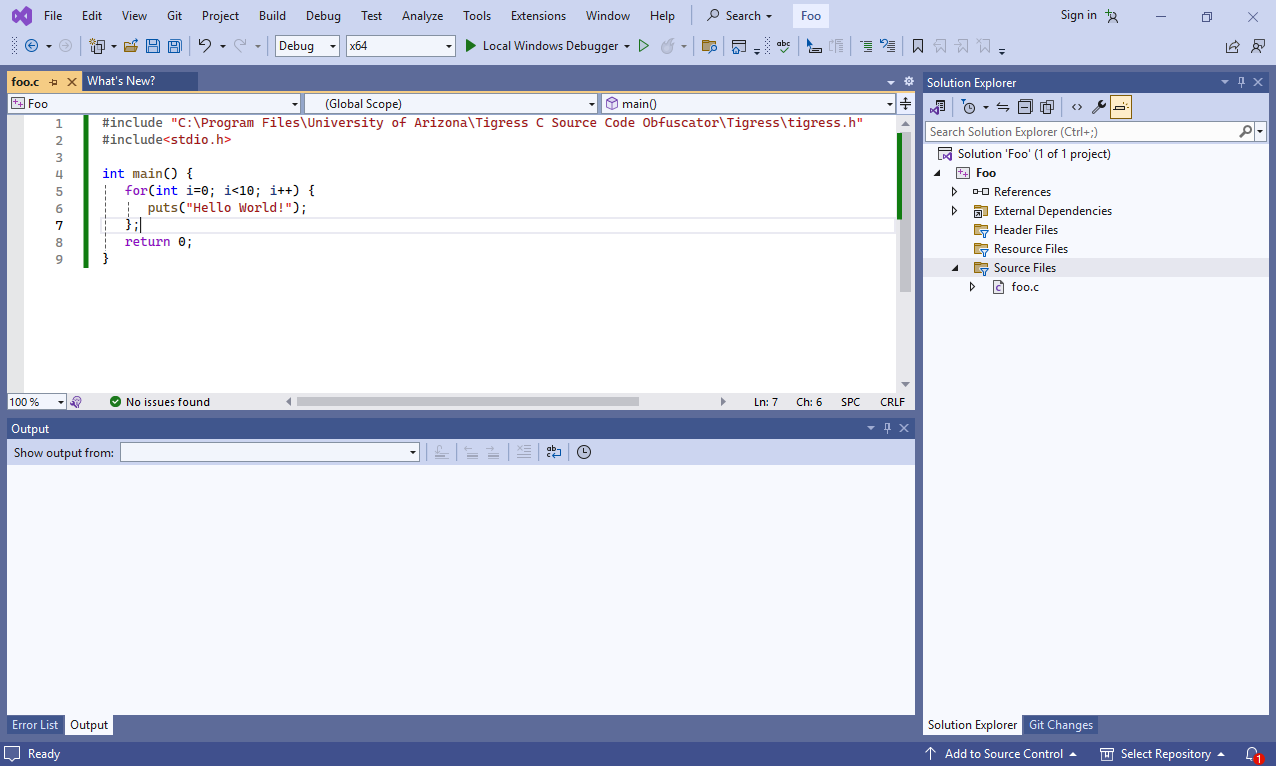
Create a C program foo.c.
Compile foo.c with cl and run it to make sure it's a valid C file
(Tigress will not work on incorrect C programs).
C:\Users\Public>"C: \Program Files\Microsoft Visual Studio\2022\Community\VC\Auxiliary\Build\vcvars64.bat"
**********************************************************************
** Visual Studio 2022 Developer Command Prompt v17.9.5
** Copyright (c) 2022 Microsoft Corporation
**********************************************************************
[vcvarsall.bat] Environment initialized for: 'x64'

C:\Users\Public>type foo.c
int main () {
  for(int i=0; i<10; i++) {
     puts("Hello World!");
  };
  return 0;
}

C:\Users\Public>cl /nologo foo.c foo. c
C:\Users\Public>foo.exe
Hello World!
Hello World!
Hello World!
Hello World!
Hello World!
Hello World!
Hello World!
Hello World!
Hello World!
Hello World!
Start by opening up your project in Visual Studio. Here our program consists of a single
C file, foo.c. Remember that Tigress only works on plain C programs, not C++.
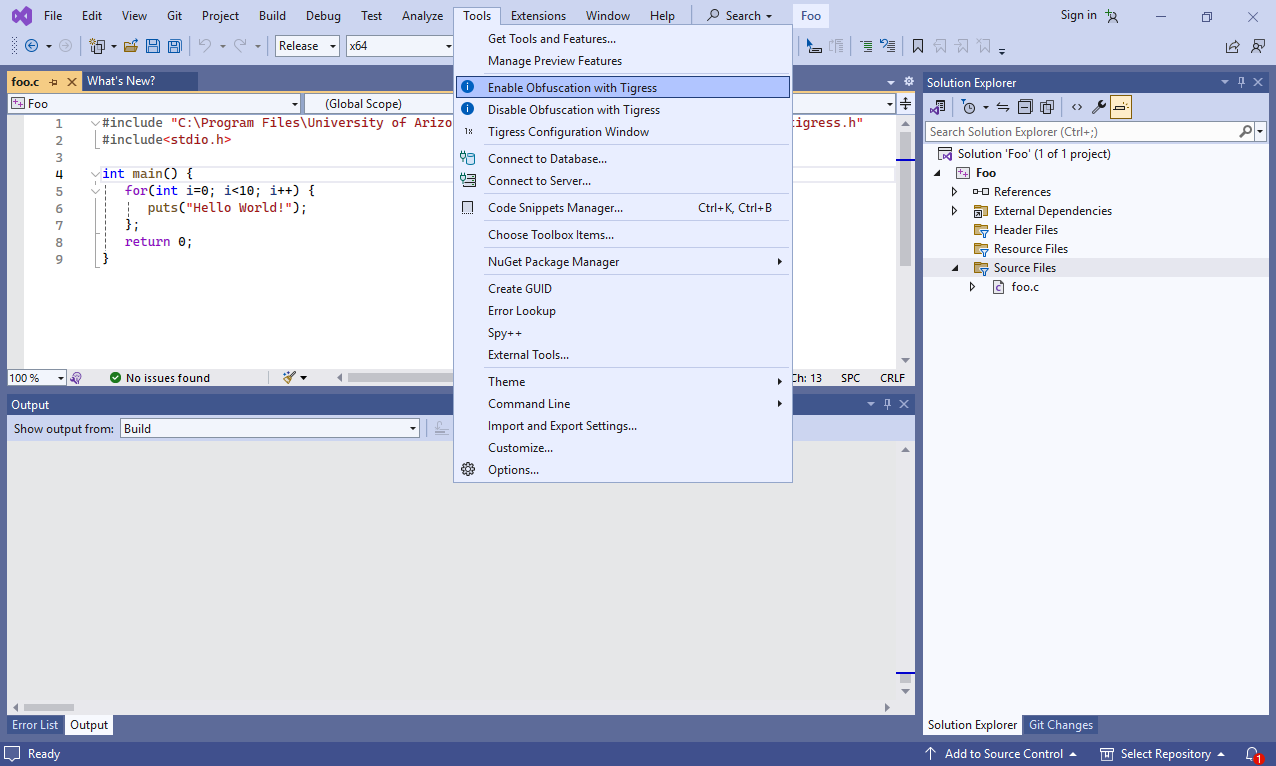
Select Tools→Enable Obfuscation with Tigress:
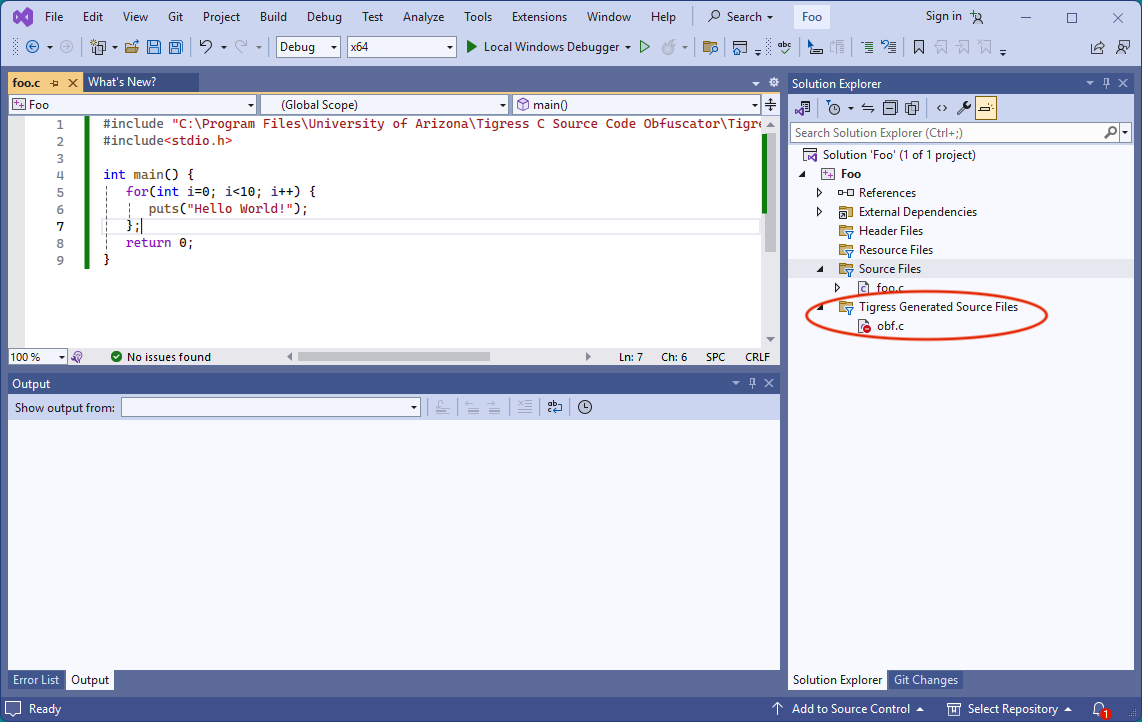
Notice that a new file, obf.c, has been created. This file will eventually
contain the obfuscated code:
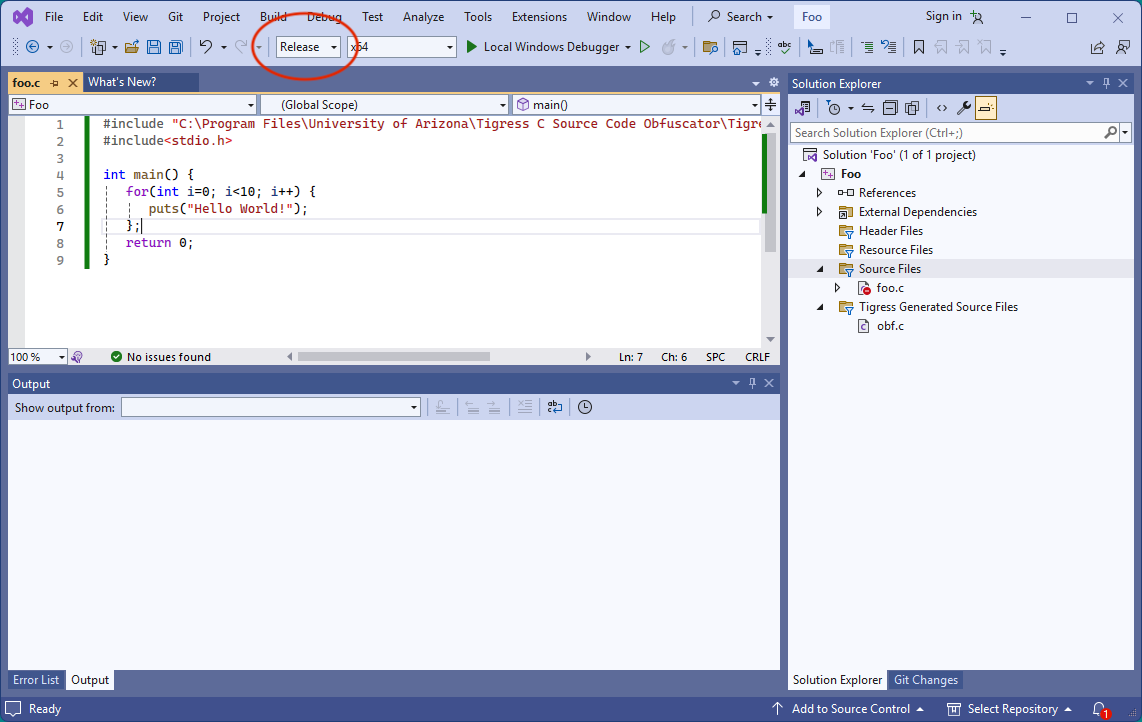
Now switch from Debug mode to Release mode.
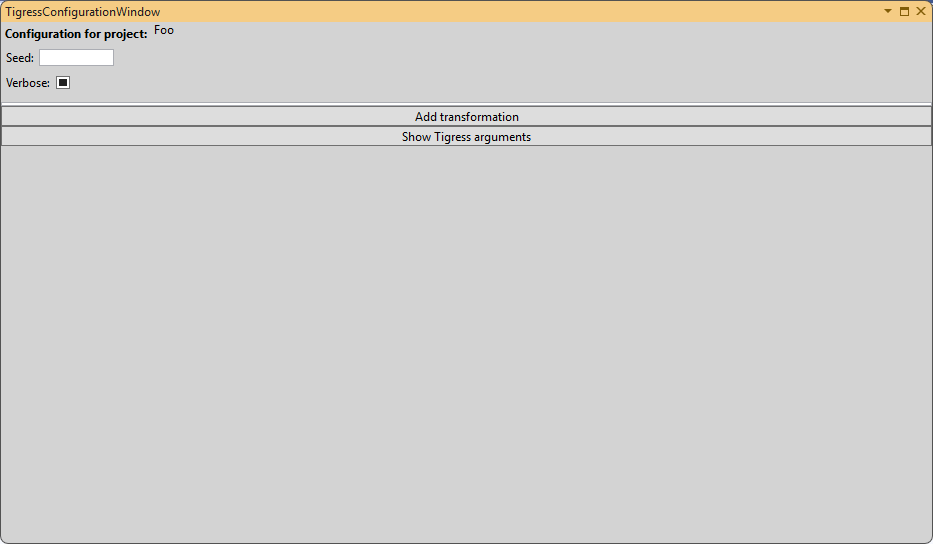
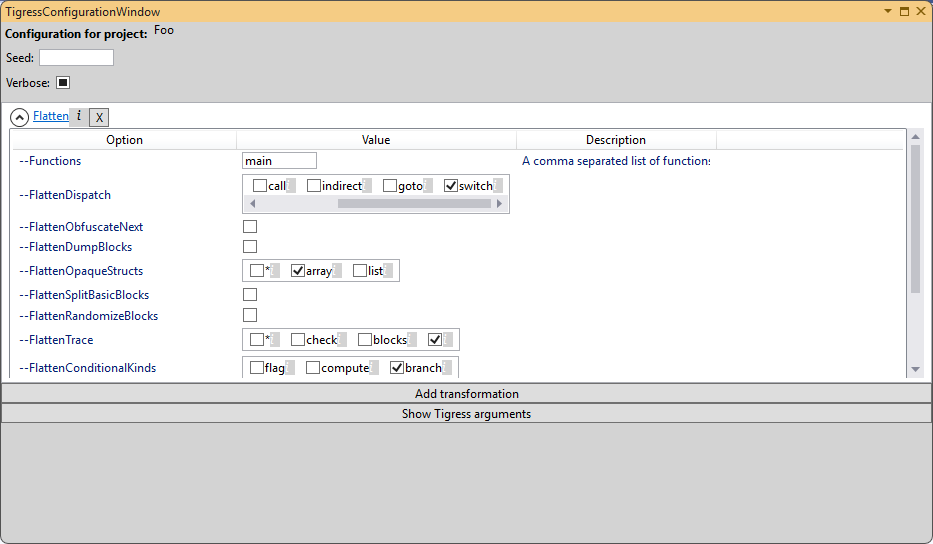
Before we can run the obfuscator we need to tell Tigress which transformations
to use. First select Tools→Tigress Configuration Window to
open up a window where you can configure which transformations should be run
on which functions:

You can click Add transformation multiple times to add new transformations:
The same transformation and transformation options that exist in the Linux and
MacOS versions are available in the Windows version. Here, however, instead of
command-line options like --Transform=Flatten --FlattenDispatch=switch, you select
the relevant buttons. Here, we've selected to obfuscate the main function using
the Flatten transformation with switch dispatch:
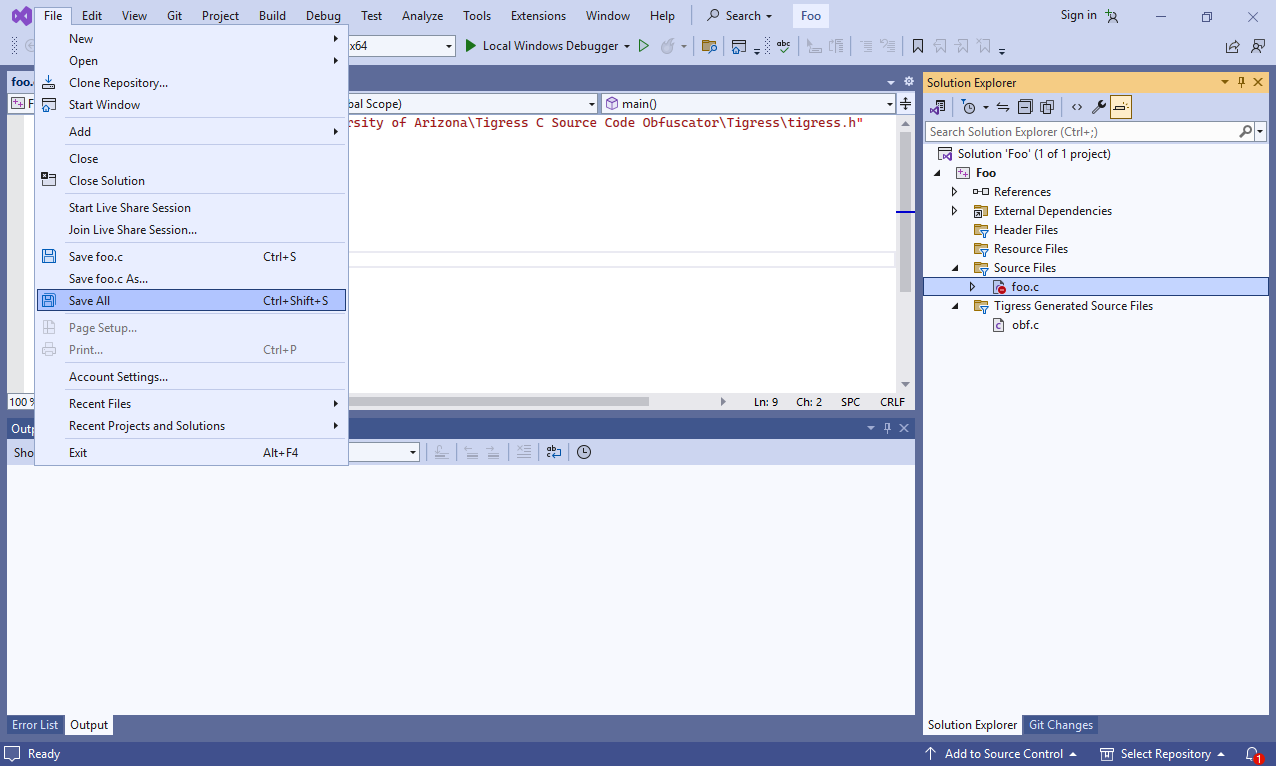
Then save the project:
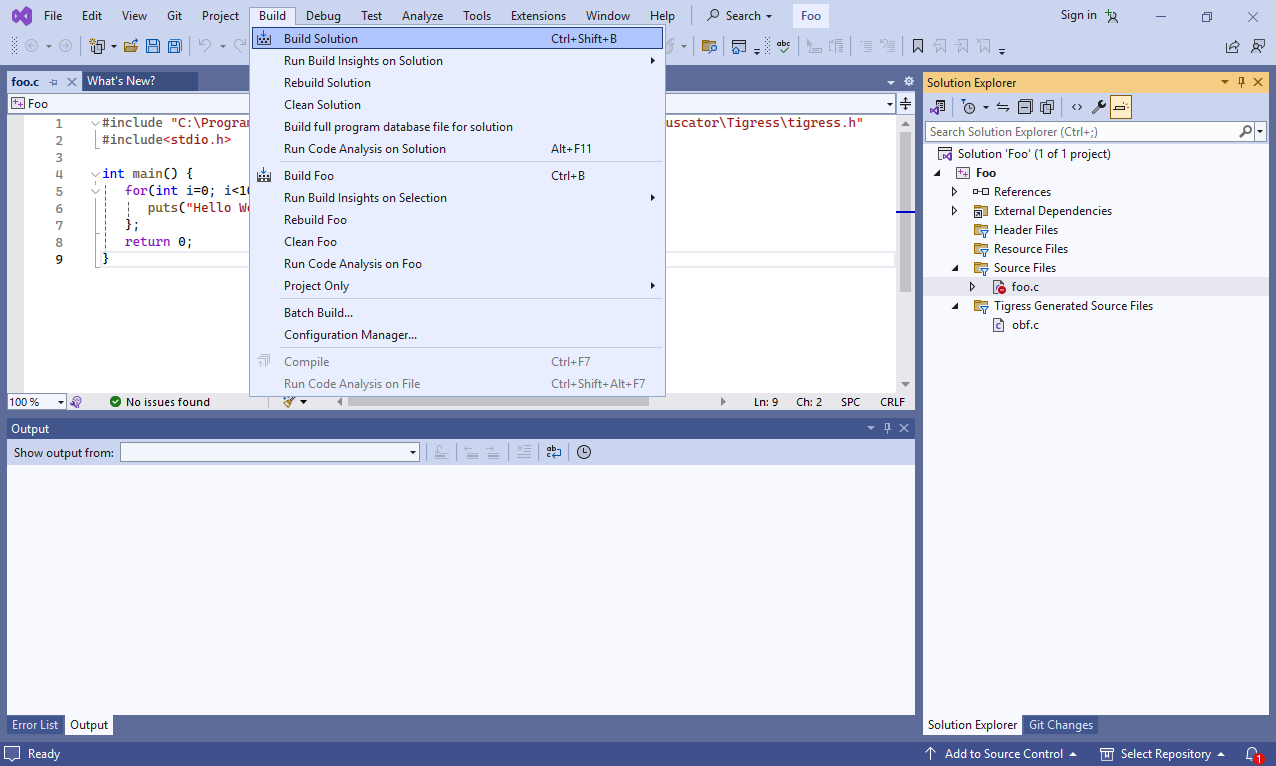
And build it:
Click on obf.c to view the obfuscated source code:
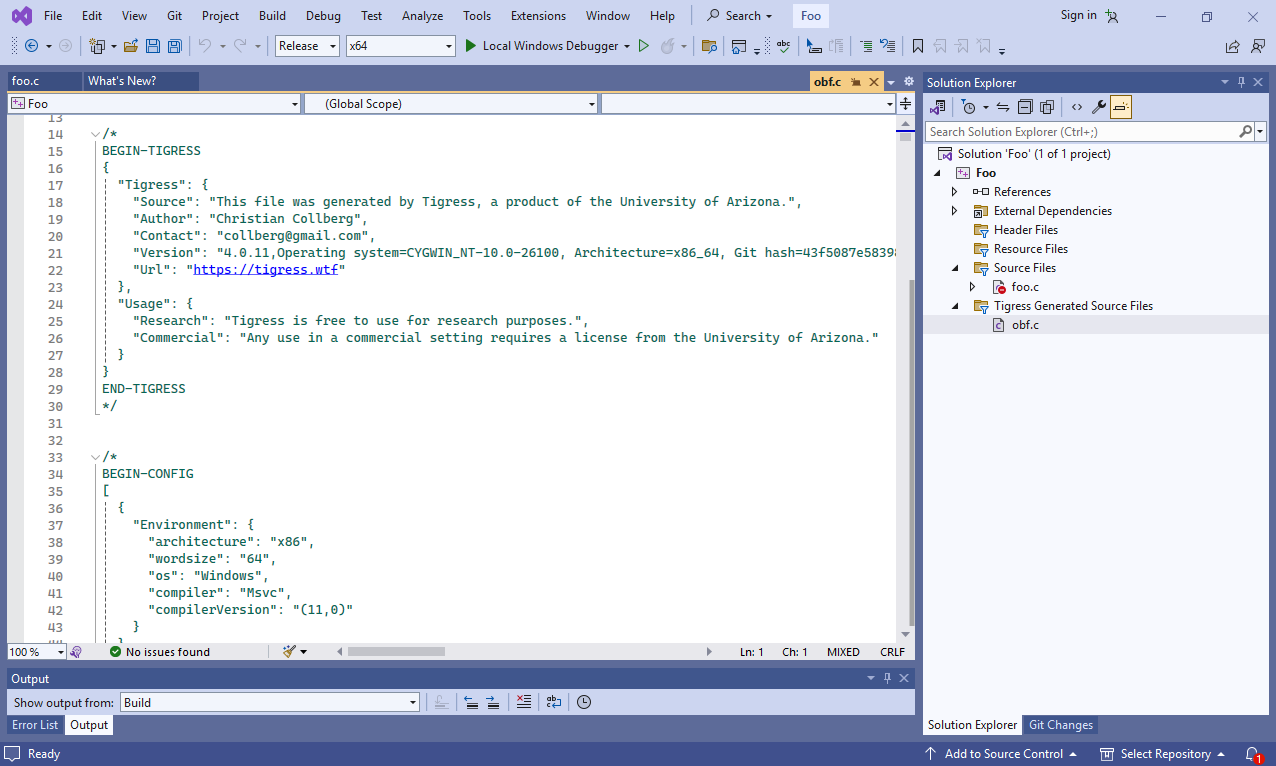
Scroll down to see the flattened main function:
