WebAssembly (From Version 3.3): Starting with Tigress version 3.3 and emscripten v. 14, it's easier to obfuscate for webassembly:
To compile for Android, download the Android NDK from https://developer.android.com/ndk/downloads. Create the following shell script, name it "compiler" and set the target to the platform for which you want to compile:
#!/bin/sh

./toolchains/llvm/prebuilt/linux-x86_64/bin/aarch64-linux-android21-clang "$@"
Add any compiler switches you need to the script. Then you can call Tigress as usual to obfuscate your code:
> tigress \
           --Environment=armv8:Android:Gcc:4.6 --Compiler=./compiler \
           --Transform=Flatten --Functions=main \
           --out=test-flat.c test.c
To ensure that your obfuscated code runs on Android devices, you need to test it on the Android emulator. First, download the latest version of Android Studio from the official website and follow the installation instructions specific to your operating system. To set it up, do:
> adb version
If ADB is not on your execution path on Linux platforms, you will need to add the path to the ADB binary to your $PATH environment variable. By default, ADB is installed to $HOME/Android/Sdk/platform-tools. First, verify that ADB is found in this directory, then add this line to your ~/.bashrc file:
> export PATH=$PATH:$HOME/Android/Sdk/platform-tools
Then issue this command to start the ADB server:
> adb start-server
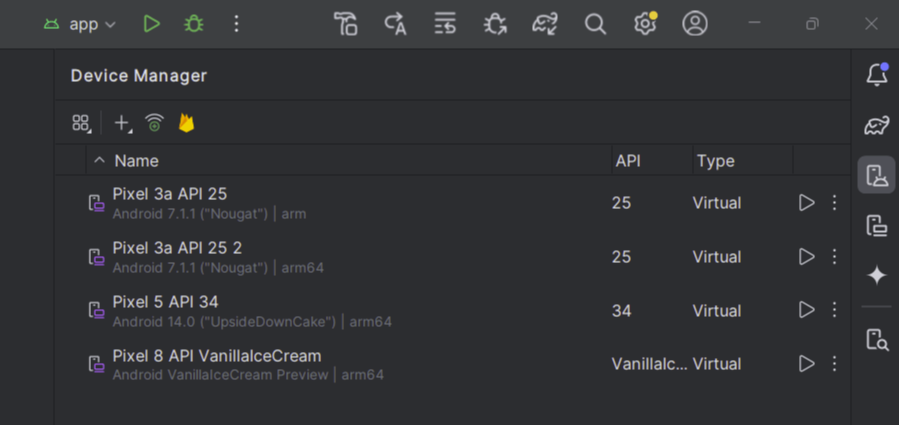
In Android Studio, navigate to Android Virtual Device Manager. Click on + to Create Virtual Device:
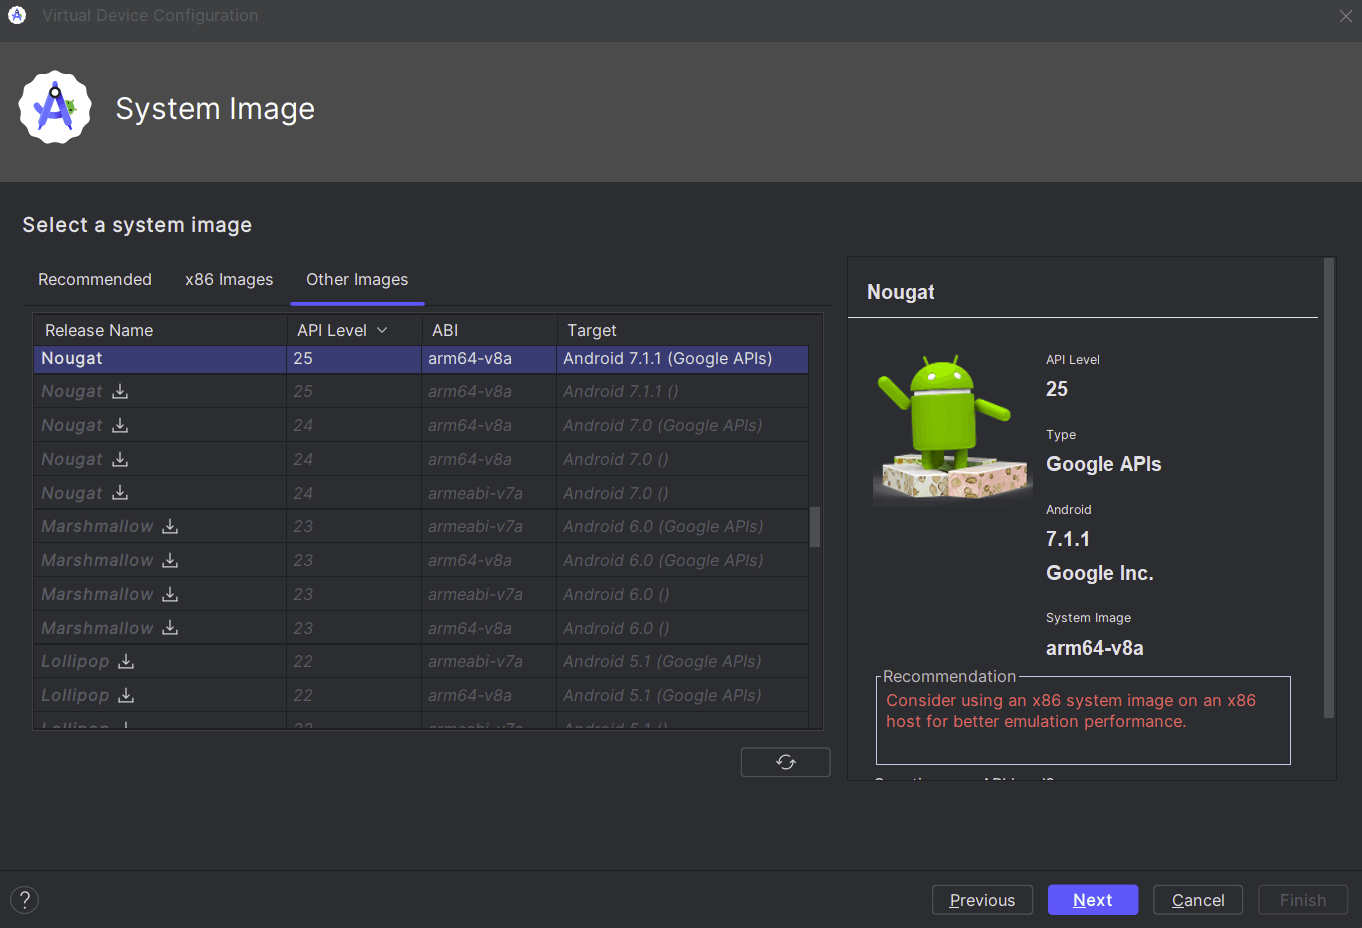
Choose any desired device and click Next. Select an ARM-based system image. For example, choose "arm64-v8a" under Other Images. Download and select this image, then click Next. NOTE: ARM64 emulation on a x86 host currently only supported up to API level 27 Oreo.
> adb devices
Create the following shell script and name it adbwrapper:
#!/bin/bash
adb push a.out /data/local/tmp/
adb shell chmod 755 /data/local/tmp/a.out
adb shell /data/local/tmp/a.out