Version 4 installation: Download the relevant .pkg-file from the download page, then open this file by ctrl-click-ing on the .pkg-file and selecting open. This is necessary since the package is currently not signed. Alternatively, after downloading, in a Terminal, type
> sudo installer -dumplog -pkg file.pkg -target ~ # On Apple Silicon Macs
> sudo installer -dumplog -pkg file.pkg -target / # On Intel Macs
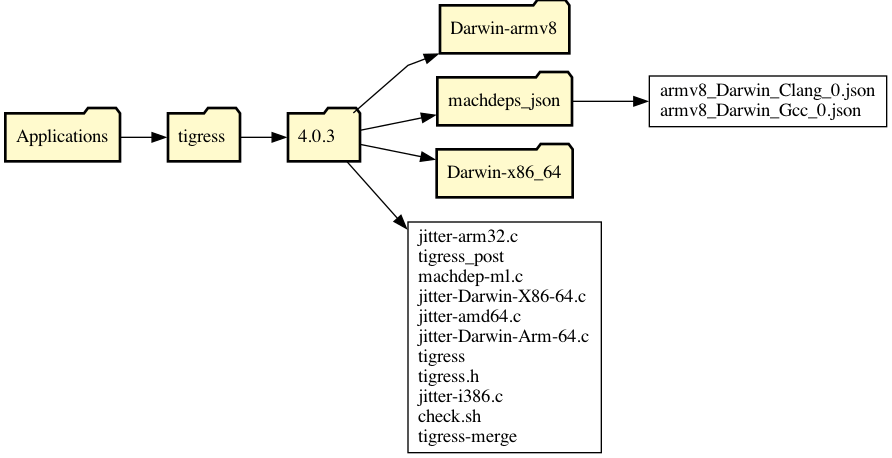
Tigress will be installed in /Applications/tigress and links to the Tigress binaries will be added to /usr/local/bin:

You can run a simple installation check by typing
> /Applications/tigress/version/check.sh in a terminal.
Version 0-3 installation: Download the relevant .zip-file. Unzip and store the directory in the location of your choice. Set the environment-variable $TIGRESS_HOME to point to the distribution, by adding these lines to your shell startup file (.bashrc, .zshrc, .profile, etc, depending on your shell):
export TIGRESS_VERSION=3.3
export TIGRESS_HOME=/Users/alice/tigress-install/bin/tigress/$TIGRESS_VERSION
export PATH=$PATH:$TIGRESS_HOME
The interface to Tigress changed from Version 3 to 4. In Version 3, the "--Environment=..." option was mandatory, and to specify the path to a compiler you would use the ''--gcc=..." option:
# These commands are valid for Tigress, Version 3:
> tigress --Environment=x86_64:Linux:Gcc:4.6 ...
> tigress --Environment=x86_64:Linux:Gcc:4.6 --gcc=PATH-TO-COMPILER ...
In Version 4, the "--Environment=..." option is optional (we will derive the platform from reasonable assumption about the current environment), and to specify the path to a compiler you use the ''--Compiler=..." option:
# These commands are valid in Tigress, Version 4:
> tigress ...
> tigress --Environment=x86_64:Linux:Gcc:4.6 ...
> tigress --Environment=x86_64:Linux:Gcc:4.6 --Compiler=PATH-TO-COMPILER ...